Access Your Raspberry Pi Remotely: Windows 10 Setup Guide
Are you ready to unlock the full potential of your Raspberry Pi, transforming it into a powerful remote access hub? The ability to remotely control your Raspberry Pi from a Windows 10 device isn't just convenient; it's a gateway to enhanced productivity, boundless experimentation, and unparalleled control over your projects, wherever you are.
The journey begins with understanding the core components. The Raspberry Pi 3 Model B, for instance, requires a specific configuration on its SD card to enable network booting. This involves setting a crucial bit in the one-time programmable (OTP) memory of the Raspberry Pi's System on a Chip (SoC), essentially unlocking the network booting capability.
This article delves into the fascinating world of remote access, focusing on the synergy between your Raspberry Pi and a Windows 10 machine. This isn't just about accessing files or running scripts; it's about creating a fully functional remote workstation, ready to tackle any task.
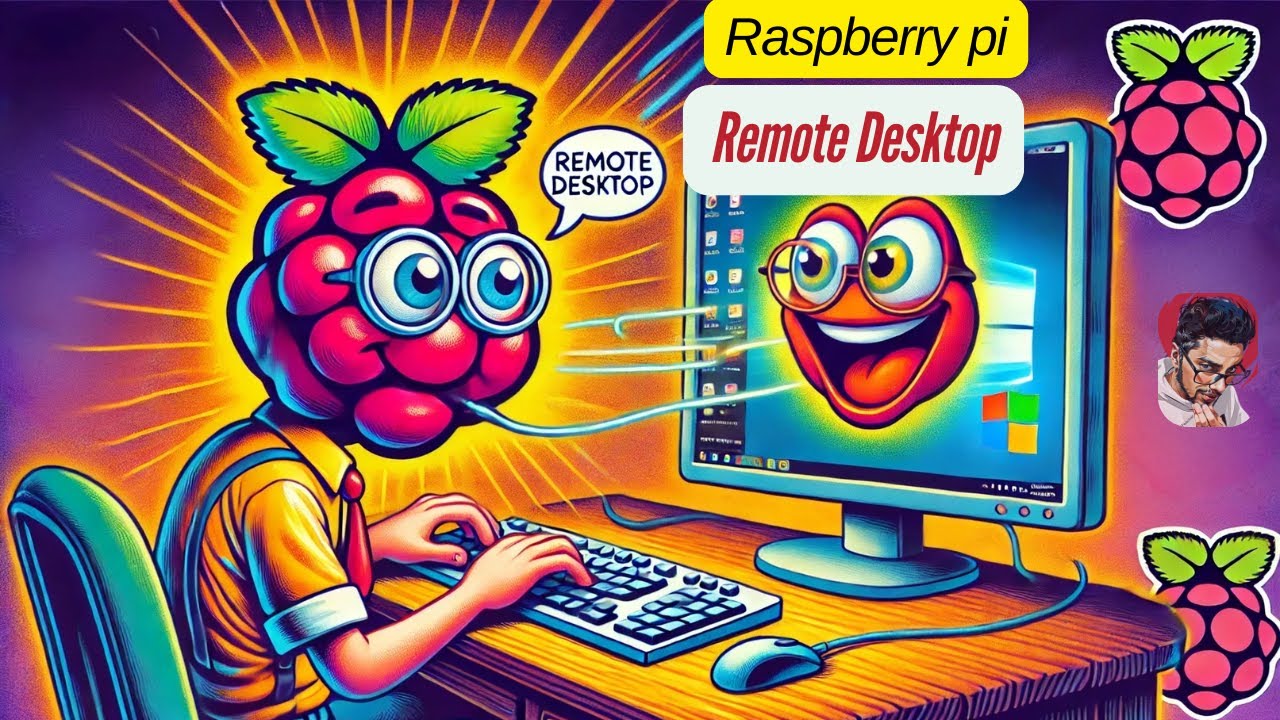
Raspberry Pi Remote Access
Remote access to your Raspberry Pi from a Windows 10 device is more than just a technical skill; it's an essential asset for any enthusiast, developer, or professional working with Internet of Things (IoT) projects, home automation, or any application that requires remote management. The possibilities are vast, extending far beyond simple file access. Imagine:
- Seamless IoT Management: Monitor and control your smart home devices, from lights and thermostats to security systems, all from a single interface.
- Efficient Development & Debugging: Develop, test, and debug your projects remotely, eliminating the need to be physically present with your Raspberry Pi.
- Server Configuration & Maintenance: Configure and maintain servers running on your Raspberry Pi from anywhere, ensuring uptime and optimal performance.
- Automation & Scripting: Run automation scripts and tasks remotely, streamlining your workflow and saving valuable time.
- Accessing Blocked Content: Use your Raspberry Pi as a secure server to access blocked sites or apps, circumventing censorship and ensuring online privacy.
The guide is tailored for both beginners and seasoned users. Even if you are new to the Raspberry Pi, the steps outlined here will help you establish a stable and secure remote connection. For advanced users, this guide will provide useful information.
The remote desktop protocol (RDP), developed by Microsoft, is a fundamental technology to connect to a remote desktop and access its GUI. It's like having a window into your Raspberry Pi's desktop, allowing you to interact with it as if you were sitting right in front of it. This guide will explore how to achieve the same functionality.
Understanding the Basics
At its heart, the Raspberry Pi is a pocket-sized computer, running on Linux. It is incredibly versatile and has found applications in various fields. The Raspberry Pi can be used for:
- Building Hardware Projects: From robotics to custom electronics, the Raspberry Pi provides a powerful platform.
- Home Automation: Control and monitor your home environment, automating tasks and enhancing comfort.
- Industrial Applications: Implement data logging, control systems, and monitoring solutions in industrial settings.
- IoT (Internet of Things): Serve as a gateway or processing unit for connecting devices and collecting data.
- Remote Access: Enable remote control and management of your projects and systems.
- Educational Purposes: Introduce users to computer science, programming, and hardware concepts.
If you're already using Windows 10, you're in luck! Windows 10 integrates seamlessly with the Raspberry Pi. Using tools like Remote Desktop Protocol (RDP), you can connect to your pi as if you were sitting right in front of it.
Here is a table containing the technical information of the remote access using the Raspberry Pi with Windows 10:
| Feature | Details |
|---|---|
| Objective | Setting up remote desktop access to a Raspberry Pi from a Windows 10 machine. |
| Technology | Remote Desktop Protocol (RDP), SSH, VNC (Virtual Network Computing) |
| Operating Systems | Raspberry Pi OS (formerly Raspbian), Windows 10 (or higher) |
| Network Requirements | Both Raspberry Pi and Windows PC must be on the same local network or have proper configurations for remote access over the internet (e.g., port forwarding). |
| Tools/Software Required |
|
| Key Steps |
|
| Security Considerations |
|
A comprehensive overview of the remote access methods, covering RDP and VNC, with a focus on security and performance.
Choosing Your Remote Access Method
There are several methods to achieve remote access to your Raspberry Pi. Each has its advantages, and the best choice depends on your specific needs and preferences:
1. Remote Desktop Protocol (RDP)
RDP, is developed by Microsoft, it offers seamless integration and high performance, especially when connecting from a Windows device. However, RDP is not available out-of-the-box on the Raspberry Pi; you will need to install and configure a suitable server software. The process involves installing an RDP server on the Raspberry Pi and then using the built-in Remote Desktop Connection client on your Windows machine to connect. Here's an overview:
- Install an RDP Server on the Raspberry Pi: This can be achieved by using `xrdp`.
- Configure RDP Server: Configure the RDP server to start on boot and to allow connections.
- Find Your Raspberry Pi's IP Address: Determine the IP address assigned to your Raspberry Pi on your local network. You can do this by logging into the Pi, using the command line, or from your router's admin interface.
- Connect from Windows: Open the Remote Desktop Connection app (search for it in the Windows search bar) and enter the IP address of your Raspberry Pi. You will then be prompted for your username and password.
Pros of RDP:
- Excellent performance, especially on Windows.
- Full desktop access.
- Easy to use with Windows.
Cons of RDP:
- Requires an RDP server to be installed on the Raspberry Pi.
- May require additional configuration for optimal performance.
2. Virtual Network Computing (VNC)
VNC offers a more straightforward approach to remote access, providing a graphical user interface (GUI) of your Raspberry Pi's desktop from another device. This protocol works across platforms, making it an excellent option for cross-platform setups. Here is a more in-depth guide:
- Install VNC Server on Raspberry Pi: Several VNC server options are available, like TightVNC or RealVNC. You can install it using the command line, for instance: `sudo apt update && sudo apt install tightvncserver`.
- Install VNC Viewer on Windows: Download and install a VNC viewer on your Windows machine from a trusted source, such as RealVNC.
- Configure the VNC Server: Start the VNC server on your Raspberry Pi and set a password for access.
- Connect from Windows: Open the VNC viewer on your Windows machine and enter the IP address of your Raspberry Pi followed by a colon and the display number (usually :1). Enter the password you set for access.
Pros of VNC:
- Cross-platform compatibility.
- Easy to set up and use.
- Full desktop access.
Cons of VNC:
- Performance can be less responsive than RDP.
- May require additional configuration for optimal performance.
3. Secure Shell (SSH)
SSH is a secure protocol for remotely accessing the command line of your Raspberry Pi. While it doesn't provide a graphical desktop, it is invaluable for tasks like file transfer, server management, and remote command execution. This method is most effective for users comfortable with the command line interface.
- Enable SSH on the Raspberry Pi: SSH is often disabled by default. You can enable it by using `sudo raspi-config` or through the Raspberry Pi OS configuration tool.
- Find Your Raspberry Pi's IP Address: Determine the IP address assigned to your Raspberry Pi.
- Connect from Windows: Use an SSH client, like PuTTY, to connect to your Raspberry Pi. Enter the IP address, and your username and password when prompted.
Pros of SSH:
- Secure and efficient.
- Ideal for command-line tasks.
- Minimal resource usage.
Cons of SSH:
- No graphical desktop access.
- Requires familiarity with the command line.
Step-by-Step Guide to Setting Up Remote Desktop Access with RDP
This section provides a detailed, step-by-step guide on how to set up remote desktop access using RDP, a popular choice for Windows users due to its high performance and seamless integration.
- Prepare Your Raspberry Pi: Start by ensuring your Raspberry Pi is connected to your local network. Ensure you are running the latest version of Raspberry Pi OS.
- Install an RDP Server on Raspberry Pi: You can install an RDP server, such as `xrdp`, using the following commands in the terminal:
sudo apt updatesudo apt install xrdpsudo systemctl enable xrdpsudo systemctl start xrdp - Configure the RDP Server: Once installed, configure the RDP server to start on boot and allow connections.
After installing xrdp, the default configuration should work. However, you might need to configure your firewall to allow connections on port 3389 (the default port for RDP). - Find Your Raspberry Pi's IP Address: Determine the IP address of your Raspberry Pi. You can find this by typing `ifconfig` in the terminal or checking your router's connected devices list.
- Enable Remote Desktop on Your Windows 10 PC:
- Go to Settings > System > Remote Desktop.
- Enable Remote Desktop.
- Click "Select users that can remotely access this PC" and add the user accounts that should be allowed to connect.
- Connect from Your Windows 10 PC:
- Search for "Remote Desktop Connection" in the Windows search bar and open the app.
- Enter your Raspberry Pi's IP address in the "Computer" field and click "Connect."
- You may be prompted for credentials. Enter your Raspberry Pi's username and password.
- If prompted about a certificate, click "Yes" to proceed.
- Enjoy Remote Access: You should now see your Raspberry Pi's desktop on your Windows 10 PC. You can control it just as if you were sitting in front of it.
Important Notes for Troubleshooting:
- Firewall Issues: Ensure your Windows firewall allows incoming connections on port 3389 (the default RDP port). Also check the firewall on your Raspberry Pi.
- Network Connectivity: Confirm that both devices are on the same network and can communicate with each other.
- User Permissions: Make sure the user account you are using on your Raspberry Pi has the necessary permissions to access the desktop environment.
- Security Certificates: If you encounter certificate errors, its usually safe to proceed, especially on a home network, but consider researching how to configure security certificates.
Advanced Configurations and Optimizations
After setting up the basic remote access, there are several ways to enhance performance and security:
- Static IP Address: Assign a static IP address to your Raspberry Pi. This ensures the IP address doesn't change, preventing connection issues.
- Port Forwarding (for Access Over the Internet): If you want to access your Raspberry Pi from outside your home network, configure port forwarding on your router to forward traffic on port 3389 (or your chosen RDP port) to your Raspberry Pi's IP address.
- VPN (Virtual Private Network): For enhanced security, consider setting up a VPN on your Raspberry Pi. This creates an encrypted connection between your Windows PC and your Raspberry Pi, protecting your data from eavesdropping.
- Optimize VNC Performance: If using VNC, experiment with the quality settings in the VNC viewer to balance image quality and performance.
- Use Strong Passwords: Always use strong, unique passwords for all accounts on your Raspberry Pi.
- Two-Factor Authentication: Implement two-factor authentication for added security, if available.
Real-World Applications and Ideas
With remote access enabled, the potential applications of your Raspberry Pi expand dramatically:
- Home Automation Hub: Remotely control lights, thermostats, and other smart home devices.
- Media Center: Manage and stream media content from your Raspberry Pi to any device.
- DIY Projects: Monitor and control your DIY projects from anywhere.
- Remote Server: Use your Raspberry Pi as a remote server for file storage, web hosting, or other services.
- Educational Projects: Learn programming, electronics, and computer science remotely.
- Accessing Blocked Content: Access blocked sites or apps by connecting remotely over a censored network, using a VPN.
Troubleshooting Common Issues
Even with careful setup, you may encounter some issues. Here are some common problems and their solutions:
- Connection Refused: This usually indicates a firewall problem, an incorrect IP address, or the RDP server not running. Double-check these settings.
- Slow Performance: Reduce the display quality settings in the RDP client or try using a wired network connection.
- Black Screen: Ensure that the display driver is installed and functioning correctly on your Raspberry Pi. Sometimes, a reboot of the Pi can resolve this issue.
- Authentication Errors: Verify that you are using the correct username and password.
Exploring Beyond the Basics
Once you have mastered the basics, explore the more advanced features to maximize productivity and security.
- File Transfer: Use tools like FileZilla or the built-in file transfer capabilities of your RDP client to move files between your Windows PC and your Raspberry Pi.
- Advanced Security Configurations: Explore the security features of your RDP client and the Raspberry Pi.
- Remote Access over the Internet: Configure your router for port forwarding and consider using a VPN for secure access.
The Benefits of Remote Access
The capability to remotely access your Raspberry Pi unlocks a world of convenience and control.
- Enhanced Productivity: Manage your Raspberry Pi projects from anywhere, saving time and increasing efficiency.
- Improved Collaboration: Share your projects with others and work collaboratively.
- Greater Flexibility: Access your projects from any device, whether you're at home or on the go.
- Increased Security: Use a VPN for added security and protect your data.
Transforming your Raspberry Pi into a versatile remote workstation is a journey, not a destination. By starting with the fundamental concepts outlined in this guide, you can start using your Raspberry Pi remotely, empowering you to manage your projects, and explore the boundless opportunities that remote access offers.


