Raspberry Pi & Jump Server: Setup & Best Practices For Security
Are you wrestling with the complexities of network security and remote access? The answer might be simpler, and more cost-effective, than you think: a well-configured Raspberry Pi acting as a jump server. This versatile little device can be the key to unlocking secure and controlled access to your internal networks, all while remaining surprisingly accessible to even the most novice of users.
The concept of a jump server, also known as a jump box, is fundamentally about providing a secure gateway. Its a dedicated device, often with public-facing capabilities, specifically designed to act as an intermediary. Think of it as a strategically placed checkpoint, allowing authorized users to access internal systems without exposing those systems directly to the outside world. Companies like Citrix, for instance, have built entire businesses around providing jump server solutions, recognizing their crucial role in modern cybersecurity.
A jump server can be configured in various ways, but its core purpose remains constant: to control and monitor access. It provides a single point of entry, making it easier to track user activity, enforce security policies, and quickly respond to potential threats. This is particularly valuable in environments where sensitive data resides or where regulatory compliance is a priority.
For example, if youre seeking a secure way to use SFTP (Secure File Transfer Protocol) all the way through, a Raspberry Pi can be configured as a jump host, utilizing port 22 for the entire connection. This allows you to hop from your regular Linux machine (A) via your Raspberry Pi (B) to your Windows machine (C), assuming theres a working SFTP server on C. This layered approach enhances security by adding an extra layer of authentication and access control.
Let's delve into the practicalities. Imagine wanting to set up an OpenVPN and Pi-hole server on a Raspberry Pi 3B+. You can configure the OpenVPN server on the Raspberry Pi, allowing you to securely connect to your home network from anywhere in the world. Simultaneously, Pi-hole can block unwanted ads and trackers across your entire network, enhancing your privacy and improving your browsing experience. This combination offers both secure remote access and a more pleasant internet experience.
One common challenge users encounter is file transfer issues. For example, if you've followed a configuration and are attempting to transfer a file from your Raspberry Pi using a command like `\/home\/pi\/test.py`, you might encounter a "transfer timed out" error. Troubleshooting this involves verifying network connectivity, checking firewall rules, and ensuring the necessary permissions are correctly set on both the source and destination systems. This usually can be easily resolved by ensuring you are using correct ports.
Security best practices are paramount. One crucial step is to deny root login via SSH. Limiting access to the root account helps prevent unauthorized users from gaining full control of your system. Along the same lines, consider implementing a jump server where the server itself is restricted, so it can only be used to jump through, and not into and out of it. This creates a contained environment, significantly reducing the risk of compromise.
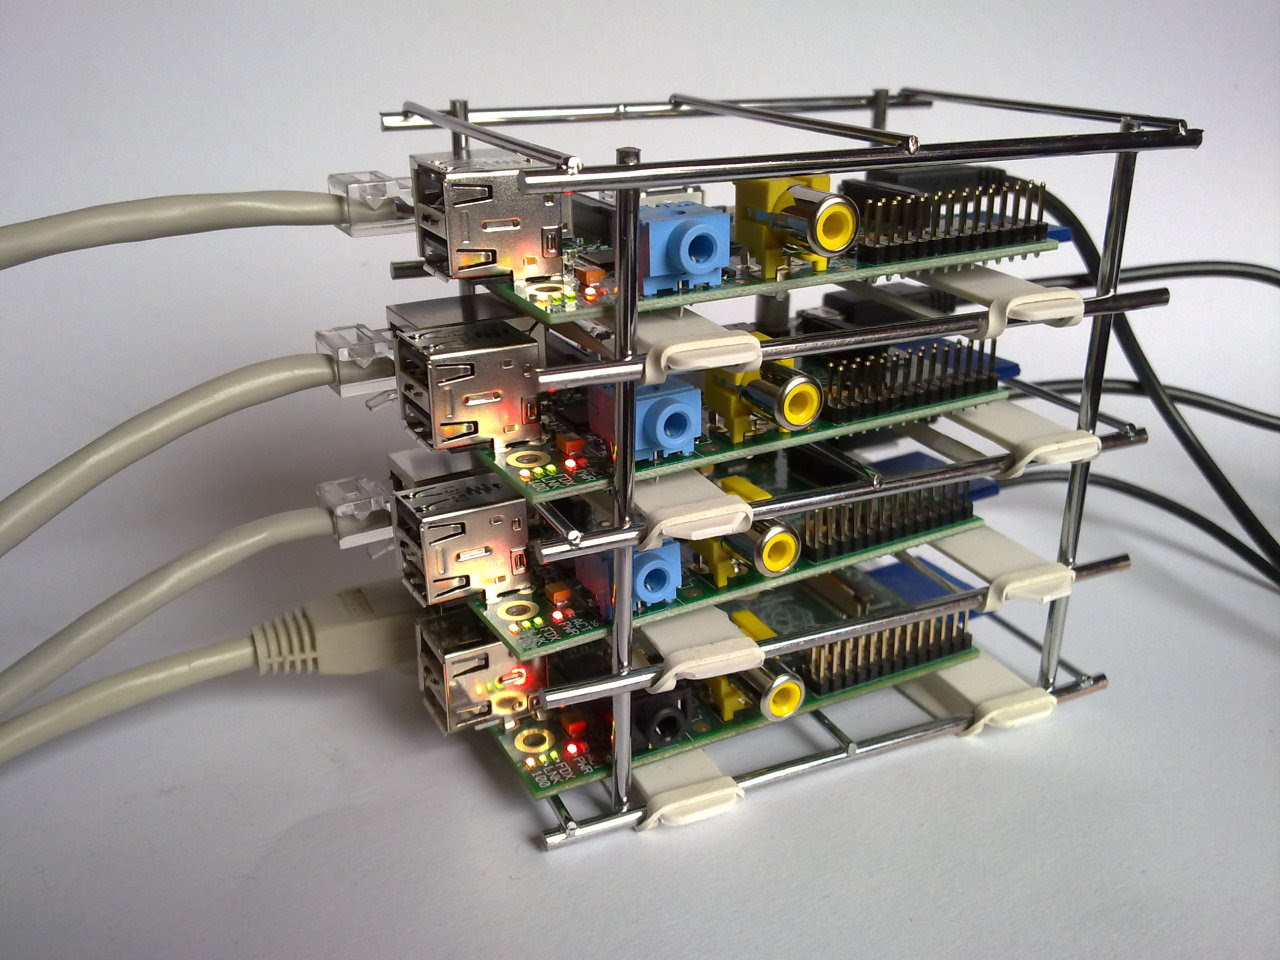
Another interesting aspect is the use of Proxmox on a Raspberry Pi. You can install Proxmox, create containers, and leverage the built-in backup features. This enables you to run multiple virtual machines or containers on your Raspberry Pi, maximizing its resource utilization and providing a flexible and manageable environment. Having a Proxmox server with multiple containers running on a Raspberry Pi 4 with ample resources is a testament to the device's capabilities.
If you're just getting started, installing Raspberry Pi OS using the Raspberry Pi Imager is the simplest method. The Imager is a quick and easy way to install the operating system and other operating systems to a microSD card. This preparation is key to accessing your Raspberry Pi with any other computers. Once the operating system is setup you can then access the device and begin configuring services on it.
Moving beyond the basics, consider the hardware. While a 4GB SD card might suffice initially, upgrading to a larger 32GB or 64GB card is highly recommended to store sessions and provide ample space for operating system updates and logs. This ensures smooth operation and prevents storage-related bottlenecks.
Furthermore, several considerations need to be addressed. Before you even begin to think about jump servers and tunnels, it is critical to know if anything is listening at port 8999 on the final link of the chain. If nothing is there, the tunnel is effectively useless. Furthermore, the TFTP protocol often works on port 69, which should also be considered to ensure connectivity.
Home Assistant, an open-source home automation platform, is another excellent use case for Raspberry Pi. It puts local control and privacy first, empowering users to build sophisticated smart home systems. Powered by a worldwide community of tinkerers and DIY enthusiasts, Home Assistant is a perfect fit for a Raspberry Pi or a local server.
For those interested in more demanding applications, the new x64 Raspberry Pi OS on a Pi4 8GB can be used to set up a headless NAS media server for internal LAN access. This allows you to access your media library through devices like Google Chromecast with Google TV, showcasing the versatility of the Raspberry Pi.
A great feature called a jumpbox (aka jumpserver) allows access to endpoints on remote LAN when you are located on a local LAN. Jumpbox features can be embedded into expensive network appliances like VPNs and routers, or they can be created from scratch, such as an inexpensive Raspberry Pi, an OpenWRT router like a GL.iNet Mango, or other micro boards. The Raspberry Pi offers a cost-effective and readily available solution.
In conclusion, the Raspberry Pi is a powerful tool for implementing secure access solutions. By leveraging its capabilities as a jump server, you can enhance your network's security posture, control access, and ultimately protect your valuable data and systems. Whether you are a home user wanting to increase the security of their systems, or a professional looking for a cost-effective solution, the Raspberry Pi as a jump server deserves serious consideration.
| Feature | Details |
| Core Functionality | Provides a secure gateway for accessing internal networks. |
| Key Benefits | Enhanced security, access control, centralized monitoring, reduced attack surface. |
| Hardware | Cost-effective, often utilizing a Raspberry Pi or similar micro-board. |
| Software | Can be configured with SSH, SFTP, OpenVPN, Proxmox, and other tools. |
| Security Best Practices | Deny root login via SSH, implement restricted jump server configurations. |
| Use Cases | Secure remote access, network monitoring, accessing internal systems. |


