Raspberry Pi P2P Network: Your Ultimate Setup Guide!
Are you ready to unlock a new realm of digital freedom and connectivity? Setting up a peer-to-peer (P2P) network on a Raspberry Pi is not just a tech exercise; it's a gateway to a more secure, private, and personalized online experience.
The allure of decentralized systems is undeniable. In an age where data privacy is paramount and the control of information is increasingly centralized, the ability to build your own network, to share files, stream media, and even create private communication channels, is incredibly appealing. The Raspberry Pi, a marvel of affordability and versatility, provides the perfect platform to embark on this journey. With its compact size and powerful processing capabilities, the Raspberry Pi empowers both seasoned developers and curious hobbyists to explore the exciting possibilities of P2P networking.
This comprehensive guide will take you through the intricate process of establishing a P2P network on your Raspberry Pi. We will delve into the essential hardware and software components, configuration nuances, and practical applications. Whether you are a tech enthusiast eager to expand your skillset or a professional seeking to enhance your projects, this guide is tailored to provide you with the knowledge and insights you need to succeed. The journey into P2P networking on a Raspberry Pi is an expedition into the core of modern computing, a journey into a realm where you control your data and your connections. Buckle up, because the ride is about to get interesting, and it will be worth your time.
| Hardware Component | Description | Recommended Specifications |
|---|---|---|
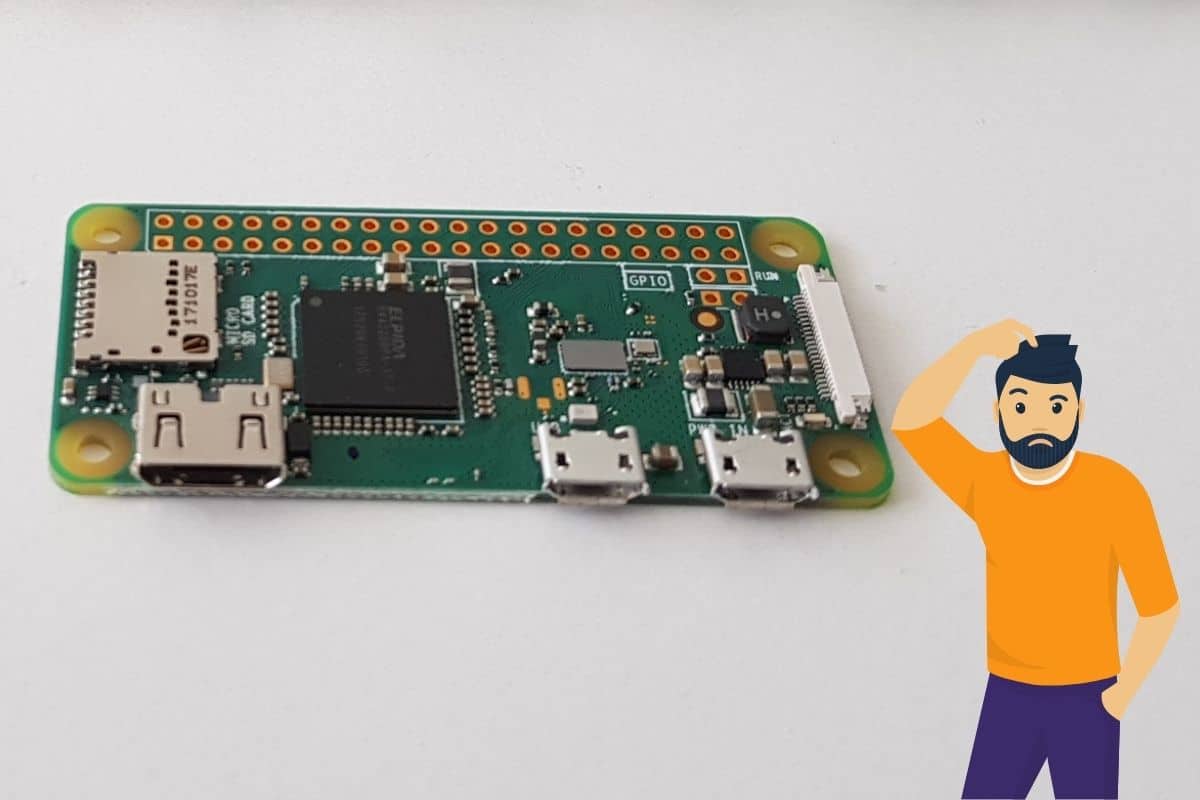
| Raspberry Pi | The central processing unit of your P2P network. | Model 3B+ or later (e.g., Raspberry Pi 4, Raspberry Pi 5) |
| MicroSD Card | Stores the operating system and all your data. | Minimum 16GB capacity, Class 10 recommended |
| Power Adapter | Provides power to the Raspberry Pi. | Compatible with your Raspberry Pi model, providing the necessary voltage and amperage |
| Network Connection | Facilitates network communication (Ethernet or Wi-Fi). | Ethernet cable or compatible Wi-Fi dongle |
| USB WiFi Dongle (Optional) | Expands Wi-Fi capabilities. | Needed if you require dual-band or extended Wi-Fi functionality |
| Additional Raspberry Pi Units (Optional) | Increases network complexity for testing purpose. | Use it for experimentation and practical testing |
Reference: For more in-depth details regarding the Raspberry Pi and its components, please visit the official Raspberry Pi website: https://www.raspberrypi.com
Before we delve into the configuration, it's crucial to gather all the necessary components. The process begins with a Raspberry Pi. Models like the 3B+ or later are preferred for their enhanced processing power and connectivity options. You will also need a microSD card with at least 16GB of storage capacity to house the operating system. A compatible power adapter is essential to keep your Raspberry Pi running smoothly. Additionally, depending on how you plan to connect your devices, you may need an Ethernet cable for a wired connection or a Wi-Fi dongle for wireless communication.
Setting up a P2P network on a Raspberry Pi involves configuring the devices to communicate directly, bypassing the need for a central server. This encompasses several key steps, including assigning static IP addresses, configuring network interfaces, and ensuring that both devices are on the same subnet. This will allow you to enhance connectivity and security. We're trying to establish a direct link between the devices. This is the essence of peer-to-peer communication.
The concept of P2P extends beyond the mere exchange of files; it encompasses the creation of a decentralized network where each device acts as both a client and a server. This framework contrasts with the traditional client-server model, in which a central server manages and controls the network's resources. In a P2P network, the control is distributed among the peers, and the data can be exchanged directly, increasing efficiency and autonomy. Whether you're a tech enthusiast, hobbyist, or professional, mastering this setup can enhance your projects and improve your understanding of networking.
The most common hurdle is configuring the network interfaces. You must configure these correctly to avoid the common pitfalls. You need to know how to assign the static IP addresses, which is vital for peer-to-peer communication. If you have a solid grasp of these principles, you'll be well on your way to establishing your own private network.
The network installation process also provides an advantage by allowing the Raspberry Pi to download an operating system onto a storage device using the Raspberry Pi Imager, which is downloaded over the network. This technique eradicates the need for an external SD card reader or any computer other than your Raspberry Pi.
Remember that the Raspberry Pi does not inherently support the exFAT file system, making it crucial to format your large SD cards with the FAT32 file system. You can delve deeper into this on the official Raspberry Pi website. For simplicity, let's designate the Raspberry Pi as the server (Peer A) and a phone or laptop as the client (Peer B). The Raspberry Pi and other devices can take turns acting as a server or client, acting in WireGuard terms as "peers".
To set up P2P communication on your Raspberry Pi, follow these steps:
- Update and Upgrade: Start by updating and upgrading the Raspbian operating system using the following commands in the terminal:
sudo apt update
sudo apt upgrade
For a more advanced setup, especially when using an additional USB WiFi dongle, you may find that the interface registers as wlan1. This requires the use of a specific configuration to ensure the network functions as expected. Furthermore, using the appropriate boot configuration is essential, ensuring your Raspberry Pi boots correctly from the formatted storage device.
The setup with LoRaE5 Module on a Raspberry Pi OS (Linux) also provides a framework for sending and receiving data over LoRa. It enables the facilitation of P2P communication. The code provides a comprehensive framework for sending and receiving data over LoRa, including setup, message formatting, and handling. This is useful for IOT implementation. By using this you can implement the best features of P2P.
The final steps are to configure the irc server. Starting the irc server is a crucial step to ensure your project is a success. You can find the tutorials and further support online for P2P with Raspberry Pi.
Remember that with the correct components and a well-structured approach, creating your P2P network on a Raspberry Pi becomes not just achievable, but a rewarding exploration into decentralized systems.By establishing your own P2P network, you're taking a proactive step towards greater control over your digital life and gaining a more profound understanding of the technologies shaping the future.
In conclusion, mastering the setup of a P2P network on a Raspberry Pi opens up exciting possibilities for enhancing connectivity, improving security, and diving deep into the realm of decentralized systems. Embrace the challenges, explore the potential, and enjoy the journey of building your own digital playground.


 network on a Raspberry Pi is not just a tech exercise; )